Today we have a fun art tutorial from my contributor, Brittany! She is constantly coming up with great projects on her blog, brittanyMakes. I LOVE her latest DIY project as a new take on hanging posters and prints.
* * * * * * * * * * * * * * * * * * * * * * * * * * * *

Hanging or framing a piece of art or photo can be tricky,
especially if the item you’re wishing to display is of a random size or
shape. There’s nothing I like less than having to custom frame
something – it’s just so expensive!
especially if the item you’re wishing to display is of a random size or
shape. There’s nothing I like less than having to custom frame
something – it’s just so expensive!
I like thinking of creative ways to display art and
prevent ever having to deal with the process of custom framing. If I do
need a frame, I usually turn to Ikea, but in some cases Ikea’s selection
of frames just doesn’t quite measure up.
prevent ever having to deal with the process of custom framing. If I do
need a frame, I usually turn to Ikea, but in some cases Ikea’s selection
of frames just doesn’t quite measure up.

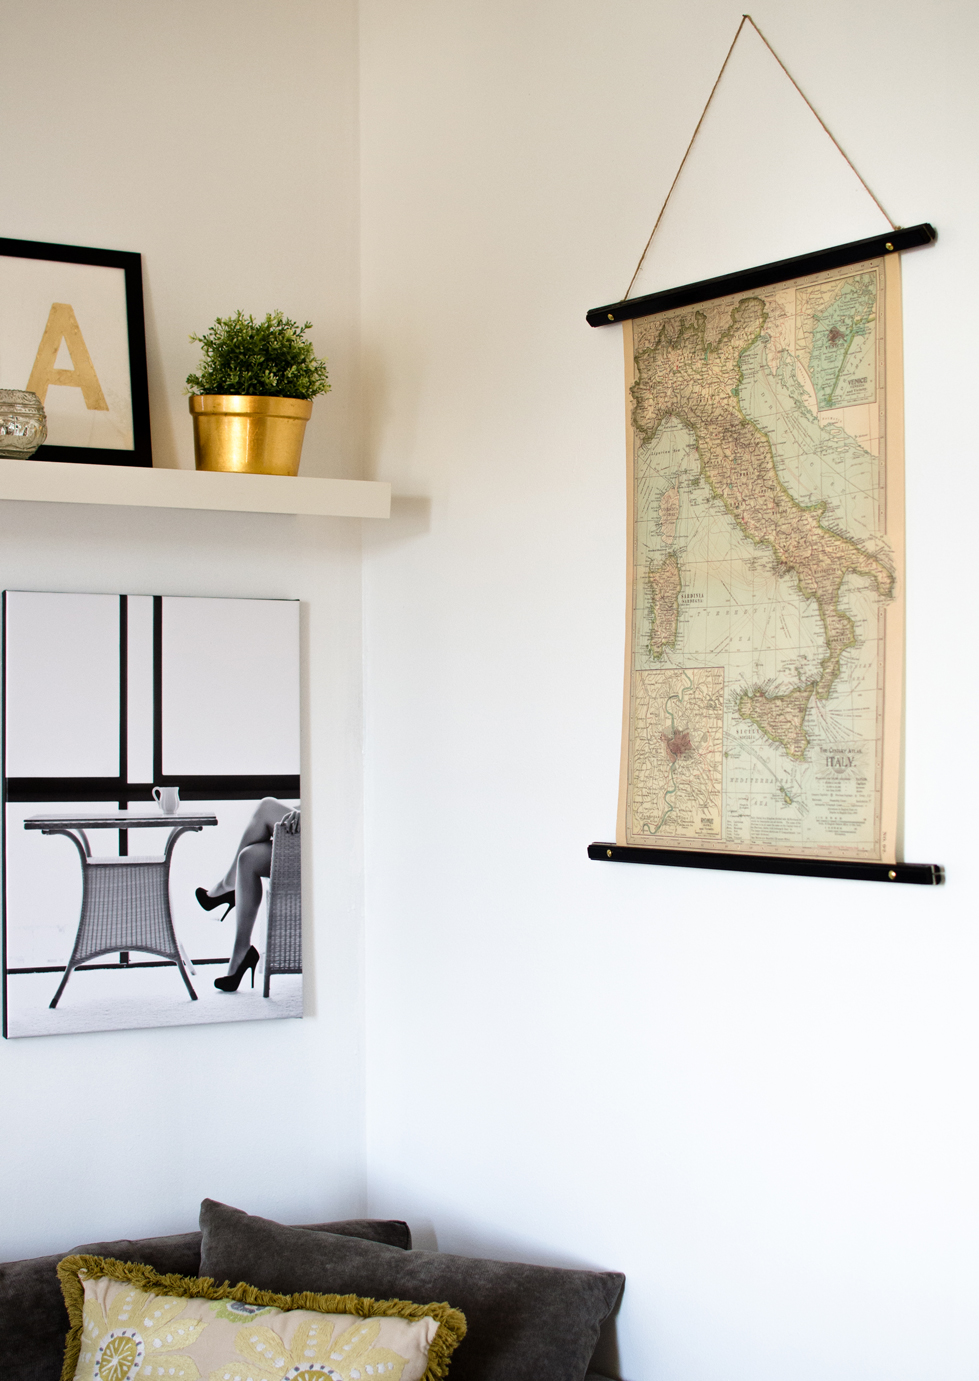
I
bought some fun wrapping paper from PaperSource the other day that I
wanted to display in our living room, in particular, a gorgeous sheet of
marbled paper and a vintage map of Italy. I came up with this
incredibly easy method to hang them using 4 ingredients: brass bolts, 1″
wood trim, paint, and twine.
Here are the three easy steps to create this exact frame:

1.
Using a can of spray primer, prime your pieces of trim. I used 1″
beveled trim from which you can easily find in the trim/crown moulding
section of your hardware store
Using a can of spray primer, prime your pieces of trim. I used 1″
beveled trim from which you can easily find in the trim/crown moulding
section of your hardware store
2. Paint the trim in our color of choice. I made two frames, one in a glossy black and the other in a soft gold.
3.
Assemble using brass bolts and a power drill. I found it best to first
drill a pilot hole into each piece of trim, screw in the first bolt on
one end, then tuck the art print between the two pieces of trim, and then, screw the trim shut on the opposite end with
the other bolt. Repeat this for the opposite end of the art print.
Lastly, attach some twine, ribbon, or cord to the back ends of the bolts, and hang!
The
possibilities are endless with this framing techique. You can give
your frame a vintage feel by distressing the paint and using hemp cord
or burlap ribbon. Or, if you want a more chic look, choose a bright
glossy paint and some velvet ribbon.
possibilities are endless with this framing techique. You can give
your frame a vintage feel by distressing the paint and using hemp cord
or burlap ribbon. Or, if you want a more chic look, choose a bright
glossy paint and some velvet ribbon.
Learn about all of my great contributors on my Meet The Team Page.
* * * * * * * * * * * * * * * * * * * * * * * * * * * *


Hi! I’m Brittany from the blog brittanyMakes, where I journal my adventures in DIY projects ranging from everyday home decor to handmade jewelry, from tips in photography to stories of bulldogs, and everything else in-between. I am a fierce accountant by day and a zealous DIYer by night. I spend my time balancing my love for home decor and design with the everyday responsibilities of my corporate day job. My main mission is to inspire my readers to do what they love, take risks, and above all, to exercise their creative muscles!

